CYANOTYPES WORKSHOP
Additional Notes and Recommended Supplies
Thank you for joining me on my Cyanotypes Workshop. I hope you enjoyed it, I certainly did, and thank you also for the kind feedback - it meant a great deal to me! As promised I have provided a little more information for you but if you have any questions do not hesitate to get in touch at hello@gaelhillyard.com, and don’t forget to subscribe at the bottom of the page for updates and news.
Chemicals used for cyanotypes*
Cyanotypes are produced by two chemicals: ferric ammonium citrate and potassium ferricyanide. Despite their names, the chemicals are not toxic but they should not be ingested or inhaled and they can prove irritant to skin so you may want to wear gloves. Once these are mixed they become light sensitive and should be prepared in small quantities and used within a few hours (keep them in a light proof container after mixing - empty travel size TRESemmé black shampoo bottles are excellent for this). Although the chemicals can be purchased separately I have used a Jacquard pack for years as it is convenient, clean, and easy to store. It costs about £20 for the set, but it will last for a long time (I have created hundreds of cyanotypes from just one set).
*please follow safety recommendations provided with the purchase of this or any other cyanotype products.
Applying the emulsion and arranging your subjects
After you have mixed the emulsion apply it to your paper as soon as you can. Choose a room that is not well lit and apply the mixture in even strokes, being careful not to overwet the paper as this will cause pooling (dark patches). It is best to use a sponge brush which gives the smoothest finish, but you can also use a normal brush if you prefer a more organic edge, but try and use one without any metal as this can react with the chemicals. Some cyanotype kits come with brushes included; these are very overpriced and you may be charged up to £10 for sponge brushes that can be picked up in any craft or DIY shop for about a pound each. Paper can be used as soon as the mixture is applied, but be aware that the wet solution may damage any film or item you place on it so this method is not recommended if you are printing things that have financial or personal value. If you would like to dry the paper for another time you can put it in a dark space (an airing cupboard, for example) and store the dried pages in a light proof envelope. If you don’t have one of these a thick envelope can be used instead which should be place it inside a dark carrier bag; fold down the opening and keep it in an unlit space. Use it within a few weeks.
Have an idea of how you would like to arrange your print before you expose it. The best way to do this is to lay your objects out as you would like them so that when your paper is ready you can easily recreate it by lifting them onto the coated paper. Use a piece of glass from an old picture frame to act as both a weight to press the subject to the paper, and to prevent items being moved in the breeze if you are working outside. Cover more of the paper with material than you think you will need as any open areas will seem empty, unless this is what you are hoping to achieve, say if you are printing a single item.
Exposing the print
Natural sunlight is the best way of exposing your prints and I tend to choose a time when the UV level is about 4 or higher (you can check this on any weather site). Even if it is cloudy you should be able to get some good results at this level, and I usually even in Northern scotland I only have to leave the print out for no more than twenty minutes. If the UV level is lower then it will need more time, and that could be a couple of hours or more. You can expose prints indoors by a sunny window, but modern glass often has some sort of UV filter and it could take a very long time. Alternatively artificial UV lights can be used, but these can be unpredictable and can damage eyesight. You can tell it is exposed when the emulsion turns to a greyish brown, it may even start to show rust like deposits rising to the surface. Once you are happy take the print to be rinsed, but try and cover the unexposed parts to protect them from light. Prints that are not exposed properly will wash away entirely so you may find it helpful to have a control to hand, such as strip of paper with items you can move to check the extent of the exposure (I use a line of coins and slide them off at regular intervals to check the progress).
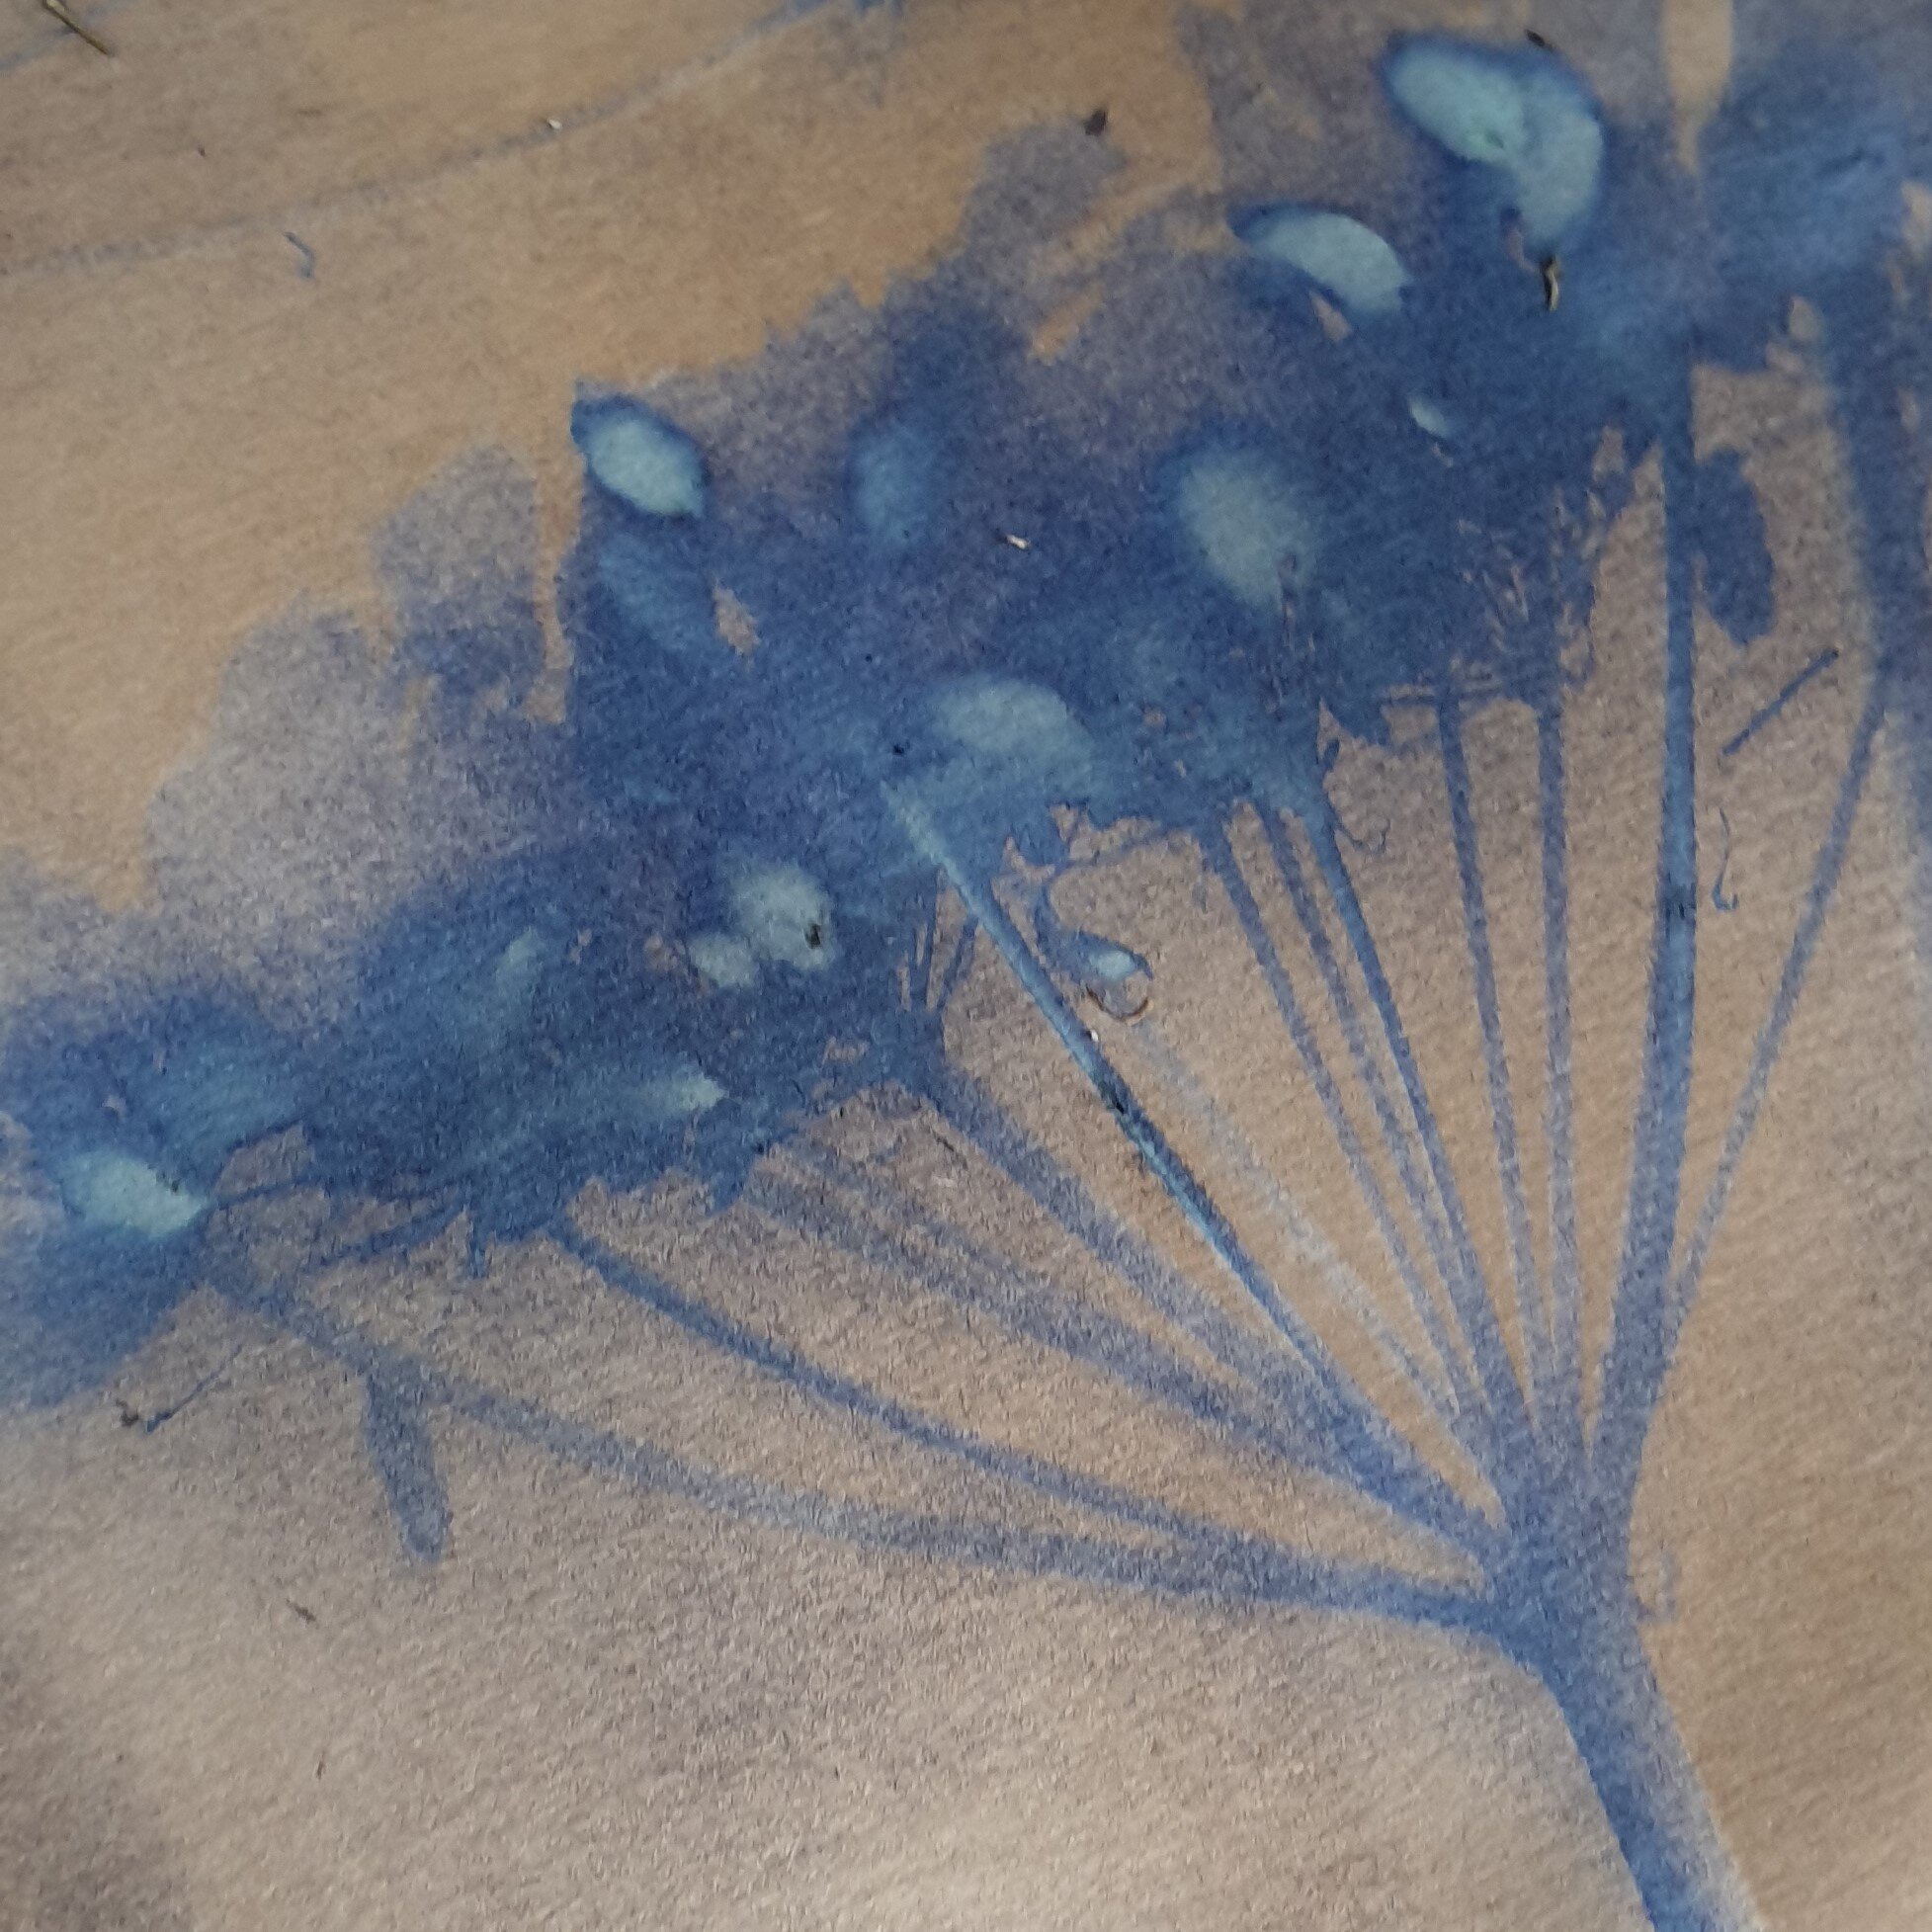
Although you can print on just about any type of substrate, I have found the best paper to use is watercolour paper as it will stand up to being soaked; 100% cotton is best, for example Arches or Fabriani cold pressed. I use Clairefontaine Goldline paper which is student grade, but gives a lovely texture at a very good price (the image at the top of the page was printed on this paper). It is also great for general watercolour work and I use it in my regular watercolour classes.
Hydrogen Peroxide
When you first wash your prints the colour may appear a little muted, but the contrast will increase over the next 24 hours. You can speed this up by using hydrogen peroxied (around 10% strength is good). This helps to quickly oxydise the print to produce the classic dark Prussian blue background common to cyanotypes.
I have also found that hydrogen peroxide seems to act as a ‘fix’ and can prevent the emulsion washing away. Once the cyanotype is exposed sufficiently, rinse the print gently under clear water for a few seconds, then drop the print in a bowl of hydrogen peroxide solution - use a capful in about 1 litre of water. Agitate for a few seconds then rinse the print in clean water for a few moments. Let the print dry naturally. I use the cheapest hydrogen peroxide I can find; this can be picked up in brown glass bottles for about £1.50 at pharmacies.
You can print out your own images on clear film and use these instead of flowers, leaves or solid objects. Remember that the black areas on the acetate will end up as white on the print; you can easily produce a ‘negative’ in most photo editing software by reversing the values before your print your image on the film.
The film can also be used for drawings and writing, use a dark marker for the best results. If you prefer to use plants or feathers, use the film as a template to pre-arrange dried flowers, leaves, and feathers so you can reproduce images quickly and easily; glue the subjects on with a clear drying adhesive in areas where it will not be seen, such as under a stem. Finally, most films have a rough texture on the printing side which can obscure your prints slightly; the film linked above instead has a polyester coating which will help your prints be clearer.
If you would like to turn your cyanotypes into journal covers, here are two videos that will help get you started.


